
In 2025 we are leading the way in bringing 3D technology into the foundry world, using 3D scanning, 3D printing and digital sculpting to make sculptures with more precision, more client interaction, and more affordable. check out two examples of that in this video.
CUSTOM SCULPTURES
OUR SERVICES
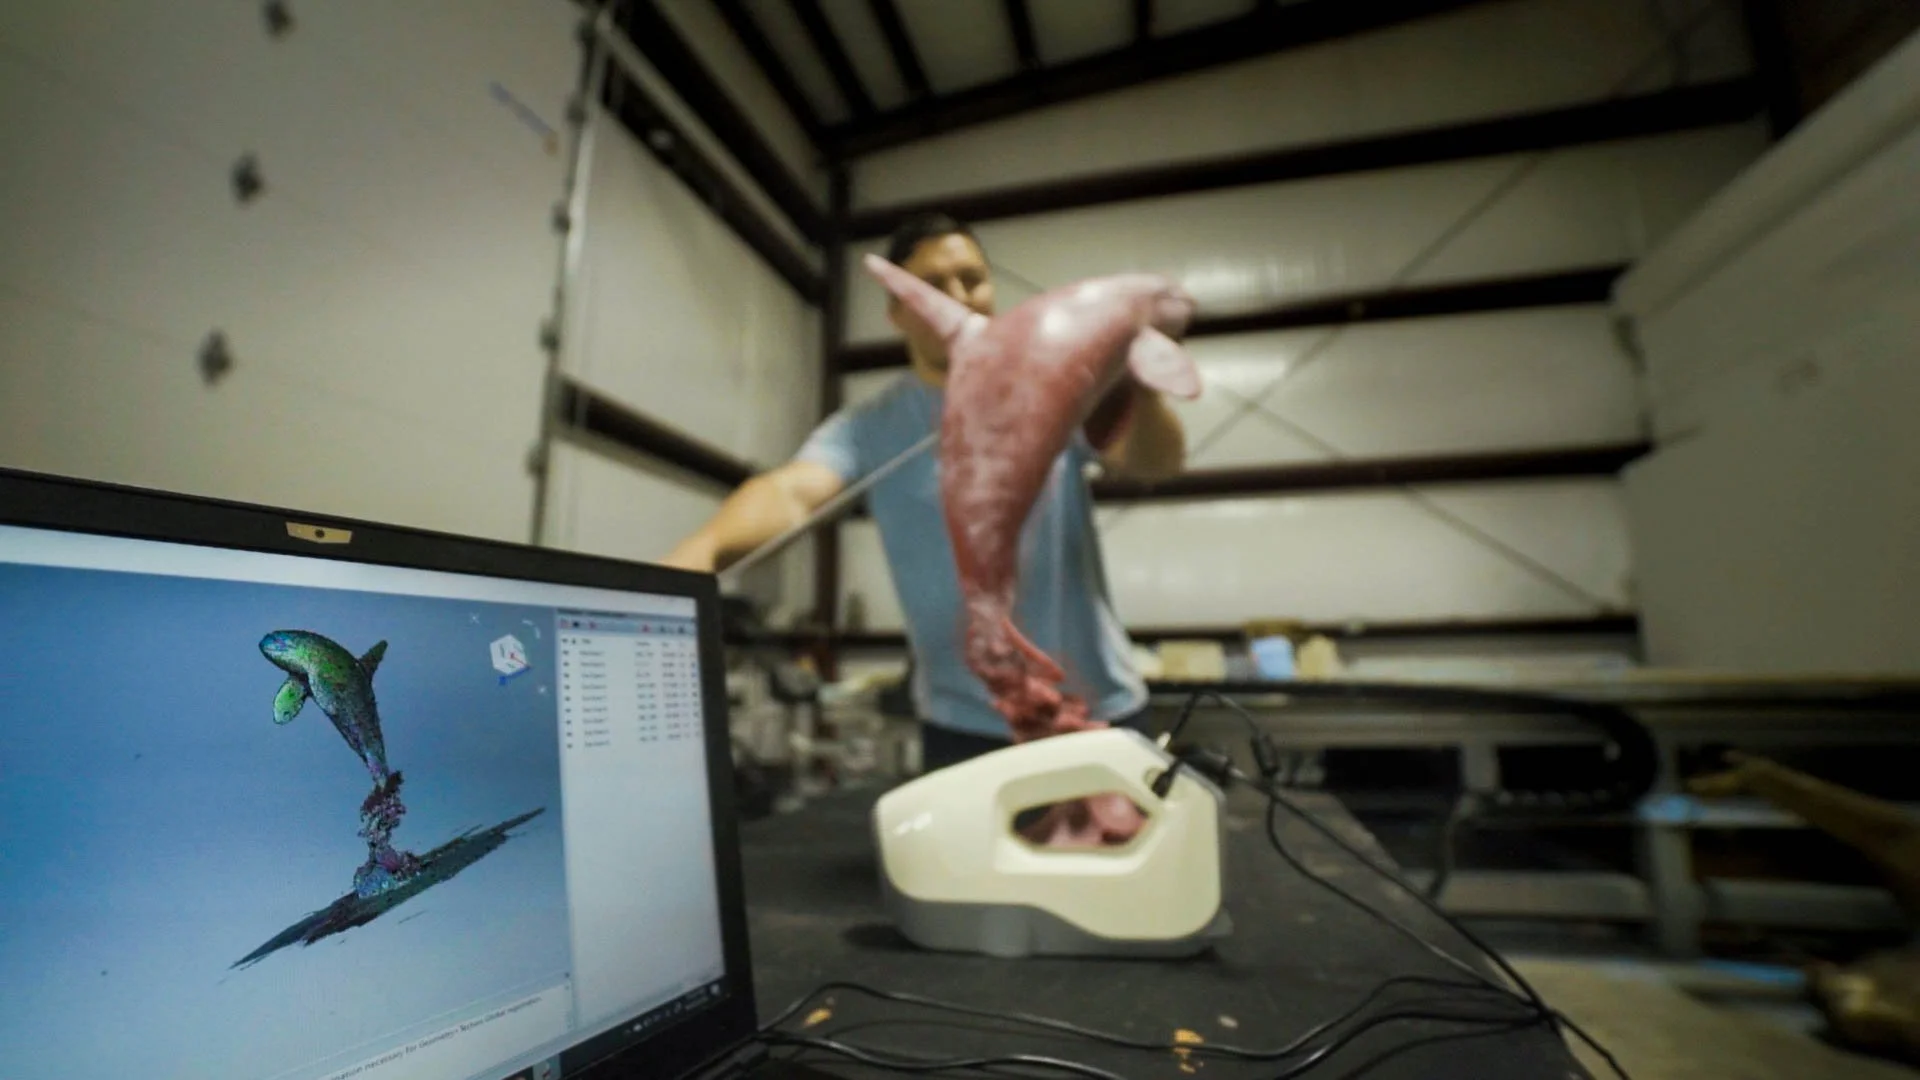
3D Services
3D scan a loved one or a sculpture to enlarge
3D modeling and printing services
Take 3D file from your computer all the way to patina’ed bronze
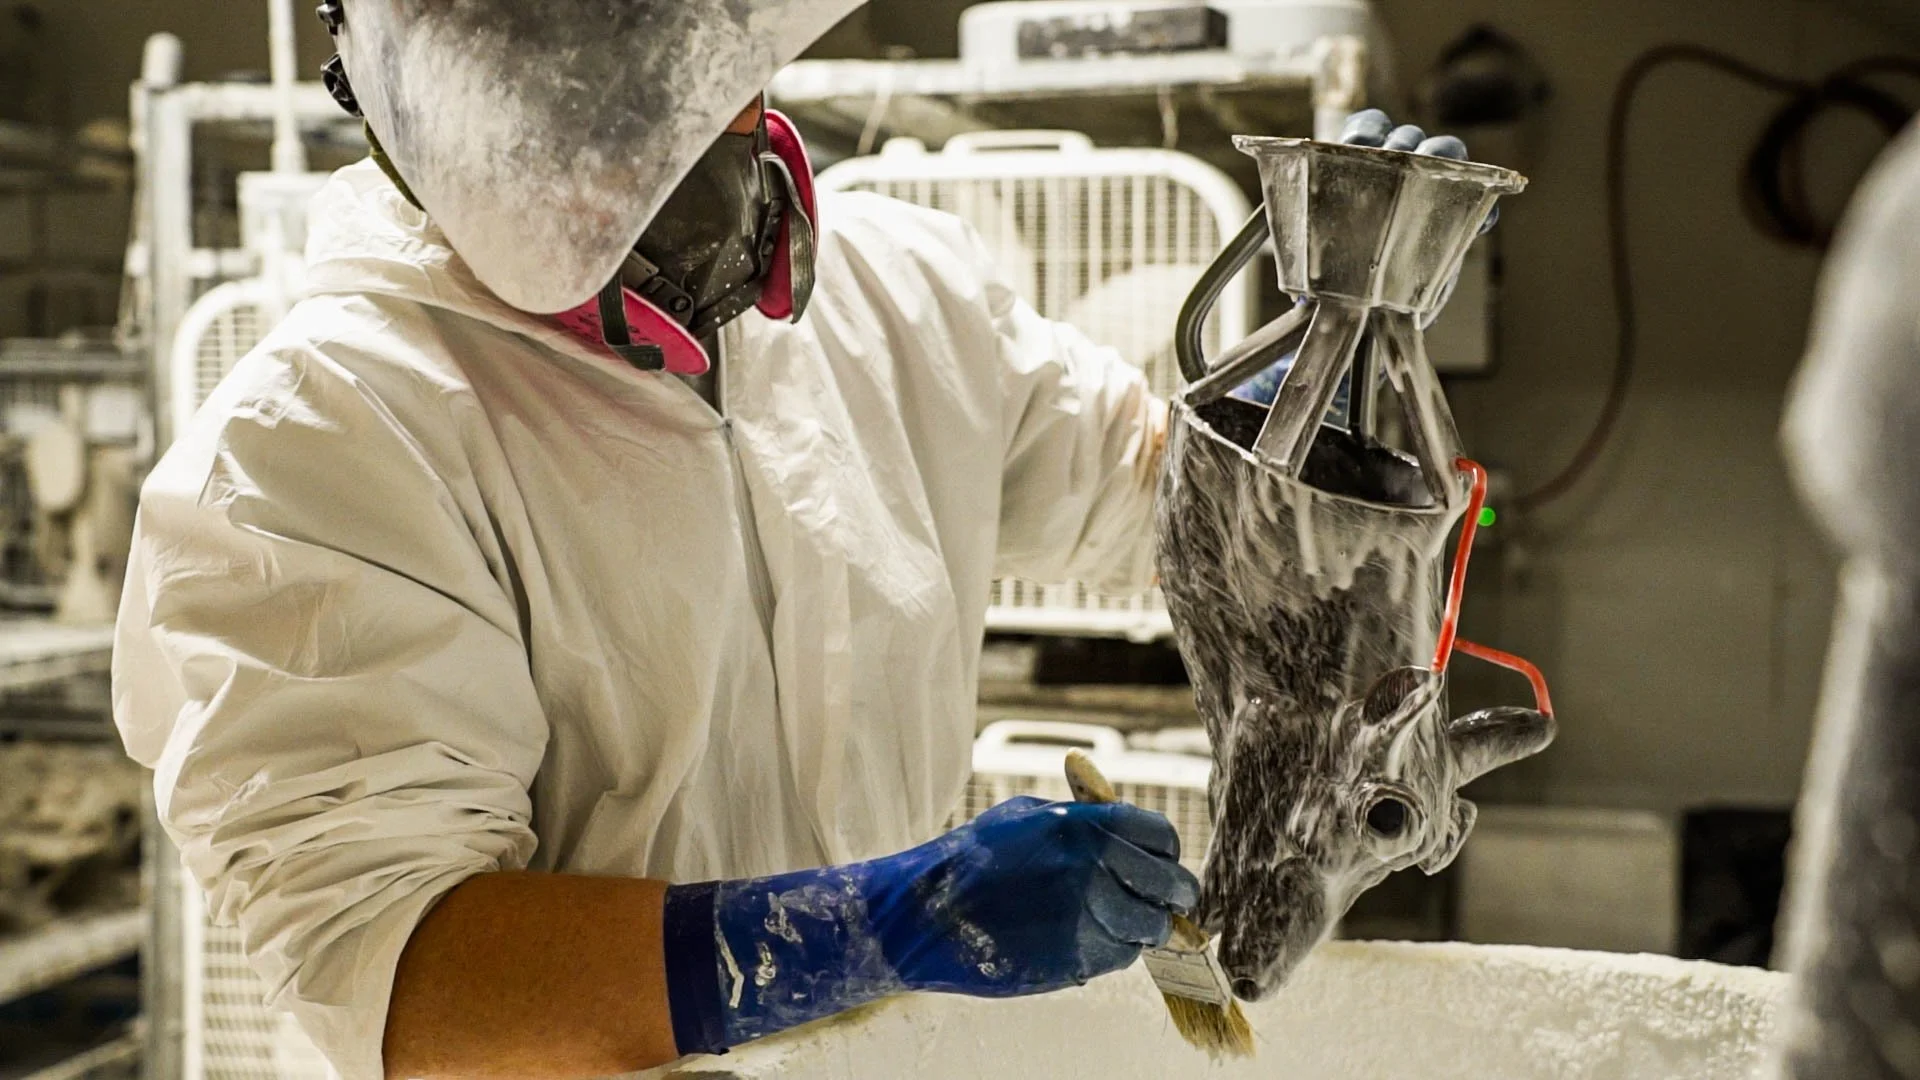
Lost Wax Casting
Lost Wax Casting from an existing mold or new mold we create for you
Post cast metal tooling and cleaning
Patina and basing

Repair
On location patina and metal tooling repair
Dropped off or shipped sculptures repaired at our Oregon based foundry
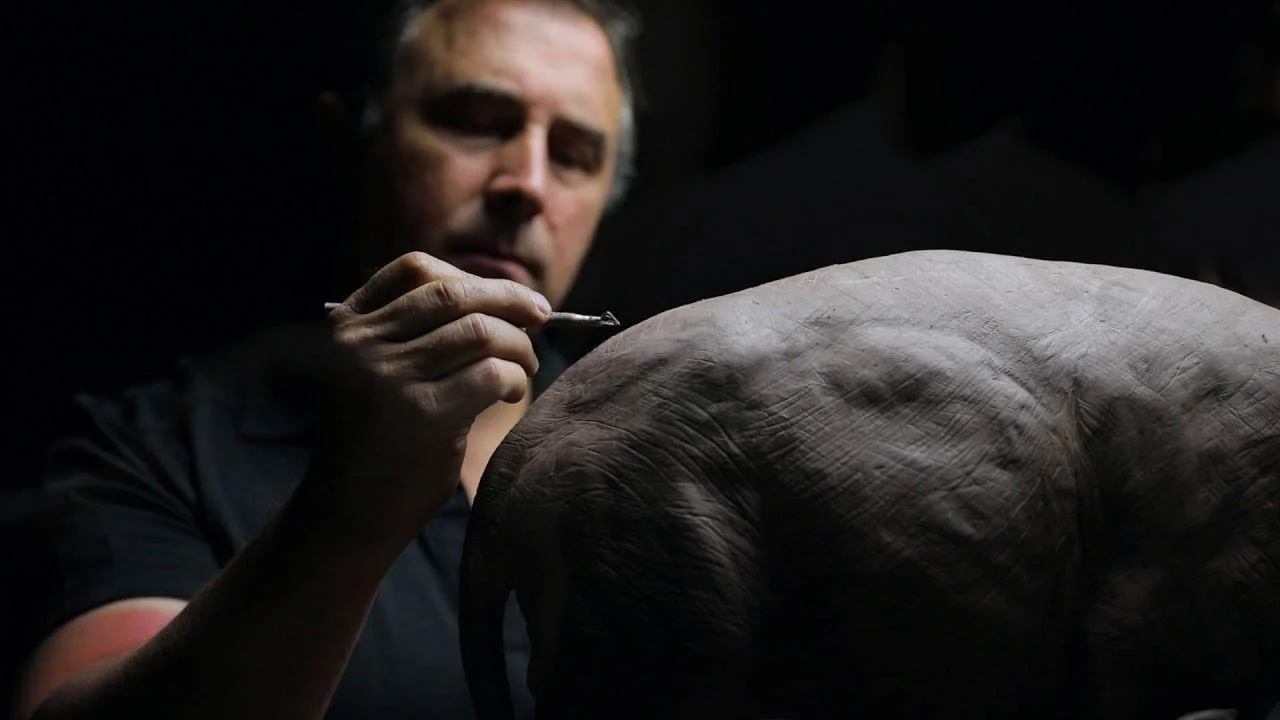
OUR STORY
Rip Caswell started Firebird Bronze after 20 years of sculpting experience. He found it hard to guarantee timelines on his sculptures to his clients and taking the foundry portion of his work into his own hands allowed him to ensure the highest level quality and timeliness of his pieces for his clients. As sculptor friends saw the quality produced from his foundry more and more artists jumped on board, using Firebird as their primary foundry.
Rip’s son Chad started 3D modeling and printing in 2013, seeing an opportunity to use new 3D scanning and printing to simplify modeling and wax casting. Rip and Chad quickly realized adding in these new tools allowed Firebird to iterate on projects with clients and complete projects faster than ever before.

Today, Firebird’s ethos of timeliness and quality hasn’t change but now Firebird works with a large group of clay sculpture artists to cast and finish their pieces, 3D artists to print and cast their pieces and individuals and companies to make their custom sculptures dreams reality.
